Learn to tie an adjustable knot with our step-by-step guide, covering rope preparation, loop creation, wrapping, and securing the knot for a secure and adjustable knot.
Preparing the Rope
Preparing the rope is the foundation of creating a reliable and efficient knot. It’s like building a house – if the foundation is weak, the entire structure will crumble. So, let’s get the rope ready for its close-up!
Choosing the Right Material
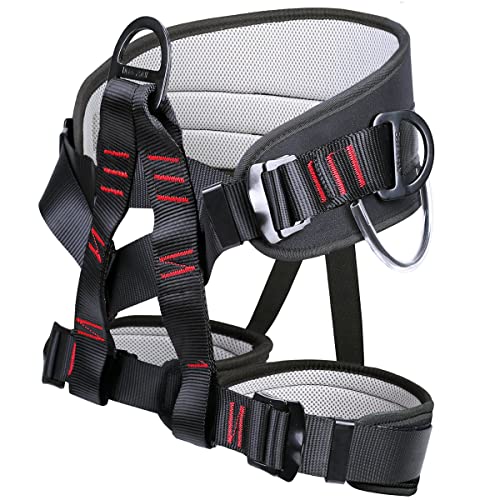
The type of rope you use can make all the difference in the world. Imagine a climber scaling a mountain with a rope that’s as brittle as a dry twig. Not exactly the most reassuring thought, is it? You want a rope that’s strong, durable, and resistant to abrasion. Synthetic ropes like nylon or polyester are excellent choices, as they offer a perfect blend of strength and flexibility.
Cutting the Rope to Length
Now that you have your trusty rope, it’s time to cut it to the desired length. But before you whip out those scissors, take a step back and think about the activity you’ll be using the rope for. Are you rock climbing, sailing, or maybe just camping? The length of your rope will depend on the specific requirements of your adventure. As a general rule of thumb, it’s always better to have a little extra length, just in case.
Smoothening the Ends
You’ve got your rope cut to size, but the ends might be a bit frayed or rough. Time to get out the rope smoothener (or a lighter, if you don’t have one handy!) and give those ends a nice, smooth finish. This step is crucial, as it prevents the rope from unraveling or snagging mid-use. Imagine being in the middle of a critical climb, and your rope decides to go rogue on you. Not. Fun.

Creating the Loop
Creating a secure knot begins with creating a loop, a crucial step that sets the foundation for the entire knot. In this section, we’ll dive into the details of creating a loop that will ensure a snug and dependable knot.
Holding the Rope Correctly
Before you start forming the loop, it’s essential to hold the rope correctly. Imagine holding a delicate leaf; you wouldn’t want to crush it, would you? Similarly, you want to cradle the rope in your hand, giving it a gentle squeeze to keep it in place. Hold the rope with your non-dominant hand, with your thumb on top and your fingers wrapping around the bottom. This grip will allow you to control the rope and guide it into a smooth loop.
Forming the Initial Loop
Now that you’re holding the rope correctly, it’s time to create the initial loop. Think of this step as drawing a circle with the rope. Start by making a small curve with the rope, keeping your thumb on top and your fingers guiding the rope from underneath. As you create the curve, keep the rope taut but not too tight, allowing it to flow smoothly into a loop. Remember, this is the foundation of your knot, so take your time and make sure the curve is smooth and even.
Adjusting Loop Size
The loop you’ve created should be the right size for your application. If it’s too small, it may not fit around the object you’re trying to secure, while a loop that’s too large may be unstable. To adjust the loop size, simply slide your hand up or down the rope, adjusting the curve to the desired size. Ask yourself, “Is the loop the right size for my needs?” If not, make the necessary adjustments before moving on to the next step.
Making the Wrap
Making the wrap is a crucial step in creating a secure knot. It’s where you start to see your hard work come together, and the knot begins to take shape. Imagine you’re wrapping a present, carefully folding and tucking the paper to create a neat and tidy package. That’s essentially what you’re doing here, but instead of paper, you’re working with rope.
Wrapping the Tail Around
To start, take the tail end of the rope and wrap it around the standing part of the rope. Think of this as the first layer of wrapping paper. You want to make sure the tail is snug against the standing part, but not so tight that it starts to pucker or bunch up. Imagine you’re wrapping a delicate ornament, you want to be gentle but firm. You should be aiming for about three to five turns, depending on the type of rope and the size of the knot you’re trying to create.
Tucking the Tail Under
Once you’ve wrapped the tail around the standing part, it’s time to tuck it under. This is where things can get a little fiddly, but stick with it, you’ve got this! Take the tail and pass it underneath the standing part, making sure it’s seated snugly. You should start to see the knot taking shape now, with the tail tucked away neatly. Think of it like tucking a loose thread back into a seam, you want to make sure everything is secure and in its place.
Tightening the Wrap
The final step is to tighten the wrap. This is where you get to make sure everything is secure and in its place. Take the tail and pull it gently to tighten the wrap. You should start to feel the knot taking shape, and the wrap should start to feel snug and secure. Think of it like tightening the lid on a jar, you want to make sure it’s secure but not too tight. With a little practice, you’ll be able to get the tension just right, and your knot will be secure and reliable.
Securing the Knot
Securing the knot is a crucial step in the process of tying a reliable and stable knot. It’s the moment of truth, where all your hard work comes together to form a sturdy bond that can withstand the tests of time and tension. So, how do you ensure that your knot is secure? Let’s dive in and find out.
Passing the Tail Through
The first step in securing the knot is to pass the tail through the loop. This may seem like a simple task, but it’s essential to get it right. Think of it like threading a needle – you need to guide the tail through the loop carefully to avoid any tangles or twists. Take your time, and make sure the tail is fully seated before moving on to the next step.
Pulling the Tail Gently
Now that the tail is through the loop, it’s time to gently pull it to tighten the knot. Imagine you’re reeling in a big catch – you need to apply just the right amount of pressure to bring the knot together without pulling too hard and causing it to jam. As you pull, make sure the knot is forming evenly and not twisting to one side.
Adjusting the Knot Tension
The final step in securing the knot is to adjust the tension. This is where you get to fine-tune your knot and make any necessary adjustments. Ask yourself, is the knot too loose or too tight? Do you need to make any adjustments to get it just right? By carefully adjusting the tension, you can ensure that your knot is secure and reliable.
Finishing the Knot
Once you’ve completed the knot, it’s essential to finishes it off properly to ensure it remains secure and looks neat. This final stage is crucial, as it can make all the difference between a reliable knot and one that’s prone to coming undone.
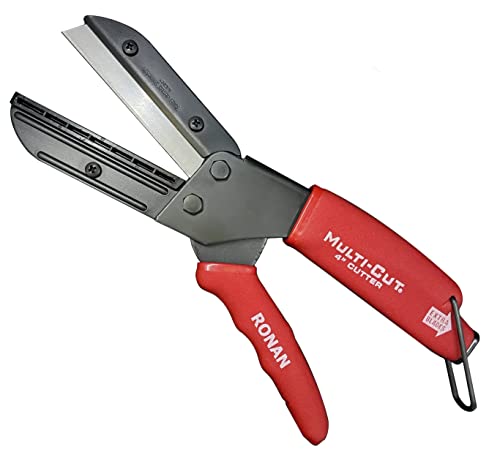
Trimming Excess Rope
Now that you’ve tied the knot, you’ll likely have a small portion of excess rope dangling from the end. To keep your knot looking tidy, it’s essential to trim this excess rope to the right length. Think of it like pruning a plant – you’re removing the unnecessary parts to allow the healthy parts to thrive. Use a pair of scissors or a rope cutter to carefully trim the excess rope, taking care not to cut too much or too little.
Tucking the End Away
With the excess rope trimmed, it’s time to tuck the end away to complete the knot. This step is similar to tucking in a loose thread on a sweater – you want to make sure everything is secure and in its place. Take the trimmed end and tuck it neatly under the knot, making sure it’s not visible from the outside. This will give your knot a professional finish and prevent the end from coming loose over time.
Checking the Knot’s Security
The final step in finishing the knot is to check its security. Think of this like doing a final quality control check on a piece of craftsmanship. Gently tug on the knot to make sure it’s secure and won’t come undone unexpectedly. If you notice any weaknesses or vulnerabilities, now is the time to address them. Remember, a well-tied knot is only as good as its weakest link, so take your time to get it right.


