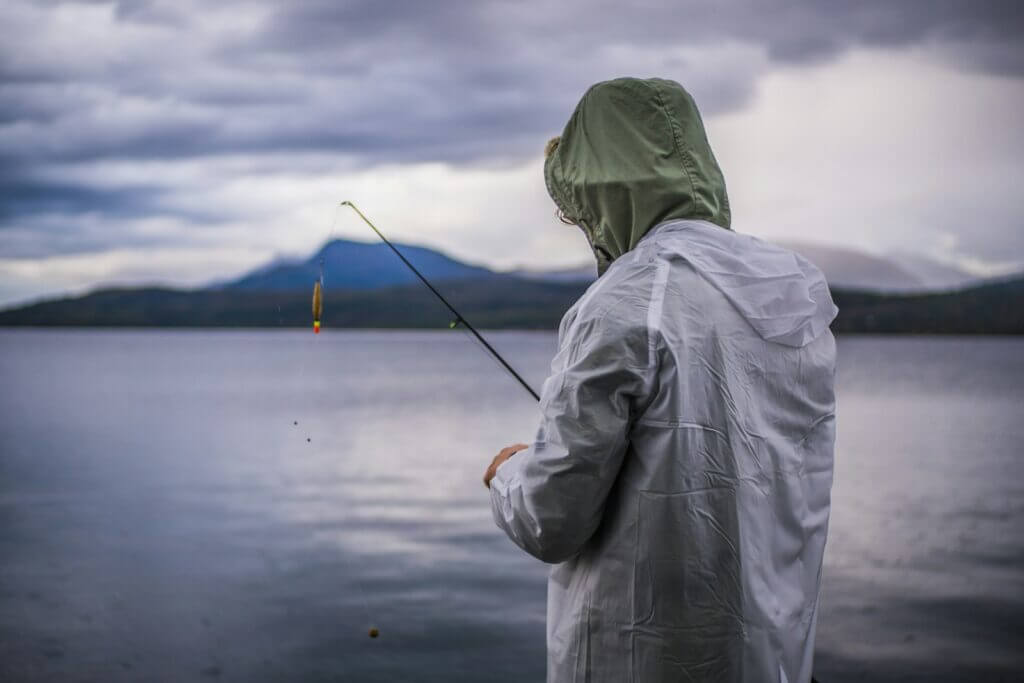
Fishing is one of the most popular outdoor pastimes around the world. There’s nothing quite like feeling that first tug on the line and reeling in an impressive catch. However, as any experienced angler will tell you, having properly set up fishing tackle is key to your success on the water. Learning how to prepare your rod, reel, and line correctly ensures you’ll be hooking fish in no time.
This straightforward guide breaks down everything you need to know about setting up a fishing pole in 5 simple steps. Follow along and you’ll gain the knowledge to hit the water with perfectly tuned gear – even if you’re new to fishing. Let’s get started!
What is a Fishing Pole?
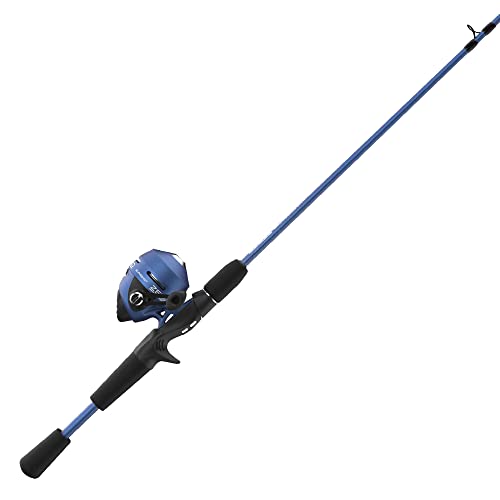
A fishing pole, also referred to as a fishing rod, is the long, flexible rod used to cast and retrieve your fishing line. Modern fishing rods consist of a graphite, fiberglass, or composite rod blank with line guides attached along its length. The guides have small rings that allow the fishing line to pass through smoothly when casting.
Fishing rods come in a variety of lengths, powers, and actions to match specific fishing techniques and target species. When paired with a compatible reel filled with fishing line, the fishing rod helps transfer energy into your cast and absorb the force when battling fish.
Why Proper Setup is Important
Taking the time to properly set up your fishing tackle makes a huge difference in your casting accuracy, lure presentation, and ability to reel in fish. Things like line twist, loose guides, and poor line quality quickly make the fishing experience frustrating.

Setting up your rod, reel, and line correctly results in:
- Longer, more accurate casts
- Better lure and bait control
- Easy, smooth line retrieval
- Increased sensitivity to feel bites
- Proper drag tension to land fish
The steps below show how to rig up your gear to perform its best on the water. Let’s walk through them one-by-one.
Step 1 – Assembling the Fishing Rod
Modern fishing rods come in either a single piece design or multiple pieces that allow the rod to break down for travel and storage.
For single piece rods, ensure the line guides and reel seat are secured in place and undamaged. Make any repairs needed before use.
For multi-piece rods, carefully align the sections so the guides match up directly. Tighten together by turning the adjoining ends or sliding the receiver ring into place, depending on the style.

Position your reel seat above the handle and tighten it down securely. Check that it doesn’t wobble side-to-side. Your reel will attach to the reel seat once the line is threaded.
With a perfectly straight fishing rod in hand, you’re ready to add the fishing line.
Step 2 – Threading the Fishing Line
Fishing line gives anglers a direct connection to the fish on the other end. The correct type and amount of line affects everything from casting distance to landing hefty fish. Follow these tips when threading fresh line onto your fishing reel:
- Select line strength suited to your target fish species. For many freshwater species like bass and trout, 4-10 lb. test monofilament or braided line works well. Go heavier for saltwater fish.
- Pick line made of quality materials from a reputable brand. Look for lines with low memory that cast smoothly.
- Fill the reel spool to the recommended capacity marked on it. Don’t overfill. Leave 1/8” gap between the line and edge of the spool.
- Thread the line first through the rod guides nearest the reel, then through the guide at the rod tip before securing it to your reel.
- When finished, cut off any excess line so it’s flush with the tied knot. Your spool is now loaded and ready to attach terminal tackle.
Now that your fishing rod is rigged up with fresh line, it’s time to prep your hook, lure, or bait.
Step 3 – Attaching Your Lure or Bait
The terminal tackle on the end of your line represents your offering to potential catches. Carry a wide selection of hooks, lures, baits, and rigs to be prepared for any scenario. Based on your target species and conditions, here are a few options:

Live Bait Rigs – Thread worms, minnows, or other live bait onto a hook or specialty rig. This triggers bites when fish are finicky.
Jigs – Jigs feature a weighted lead head molded onto a single hook. They attract strikes through movement.
Spoons – Casting or trolling spoons that mimic injured baitfish trigger reaction bites from gamefish.
Plugs – Crankbaits, jerkbaits, surface plugs and other models imitate prey when retrieved. Their action provokes strikes.
Soft Plastics – Plastic worms, craws, and paddle tails fished on jig heads or Texas rigs work wonders on structure.
Whichever terminal tackle you select, ensure it’s firmly attached to your line using quality fishing knots like the palomar, clinch, or improved cinch. Cut off any excess line when finished tying knots.
Step 4 – Casting Your Fishing Pole
Now for the fun part! You have your fishing rod rigged up and ready to start tempting fish. Follow these pointers for making accurate, efficient casts:
- Press and hold the reel spool release when casting to allow the line to freely spool out as the lure is launched.
- Bring your fishing rod behind your shoulder, then make a quick forward arm motion stopping at eye level. Release your finger from the spool halfway through the forward motion.
- Allow the fishing rod to load and flex naturally to help propel the lure forward on longer casts. Don’t muscle the cast.
- Aim at your target area. Use your wrist to control the rod on final delivery for pinpoint accuracy.
- Slow your forward cast and lightly thumb the spool to stop the lure near structures without overrunning its length.
Take a few minutes to practice casting in an open field or water before hitting your favorite fishing hole. Smooth casts lead to precise presentations.
Step 5 – Retrieve and Set Your Hook
As your lure glides through the water, stay alert to any bites indicated by sudden line movement, rod tip vibrations, or visual strikes. When you feel or see a fish bite, immediately:
- Sweep your rod tip back firmly to drive the hook point into the fish’s mouth. Keep tension on the line!
- Once hooked up, keep the rod tip up and start reeling in line while maintaining pressure on the fish.
- Gradually guide fish away from any structures they’re swimming towards. Turn them by moving the rod left and right.
- Lead fish to the net or shore, then lift your rod high while scooping the net below the fish or grabbing it.
Now you’re ready to unhook your catch, gather any data for records, and determine if you’d like to keep or release the fish.
Conclusion
Setting up your fishing rod and reel properly is the first step to an exciting, successful fishing trip. Taking a methodical approach ensures everything is in working order when it’s time to reel in that trophy catch. Remember to check guides, spool on high-quality fresh line matched to your target species, snell hooks and attach lures securely, practice smooth casting techniques, and stay alert to detecting strikes.
With practice, you’ll be rigging up and hooking fish with ease in no time. Soon enough, you’ll have a lifetime of fishing tales worth remembering. Here’s wishing you tight lines and full creels the next time you head out rod in hand!


