Discover the secrets to tying the perfect crankbait knot with our easy-to-follow guide, covering everything from knot selection to final adjustments.
Choosing the Right Knot
When it comes to fishing with crankbaits, the type of knot you use can make all the difference in landing that prized catch. But with so many options out there, how do you choose the right one?
Types of Knots for Crankbaits
There are several types of knots that work well for crankbaits, each with its own strengths and weaknesses. The most popular ones include the Improved Clinch Knot, the Palomar Knot, and the Blood Knot. The Improved Clinch Knot is a classic choice, known for its simplicity and reliability. The Palomar Knot is a bit more complex, but it offers superior strength and resistance to slipping. The Blood Knot, on the other hand, is ideal for joining two lines together.
Factors to Consider for Knot Selection
So, how do you decide which knot to use? There are several factors to consider. For starters, think about the type of fishing you’ll be doing. If you’re going after big game fish, you’ll want a knot that can handle the stress and strain. The type of line you’re using is also crucial – some knots work better with monofilament, while others are better suited for braided lines. Finally, consider your personal comfort level – some knots are easier to tie than others, so choose one that you’re comfortable with. By considering these factors, you can choose a knot that will help you land more fish and avoid lost lures.
Preparing the Lure
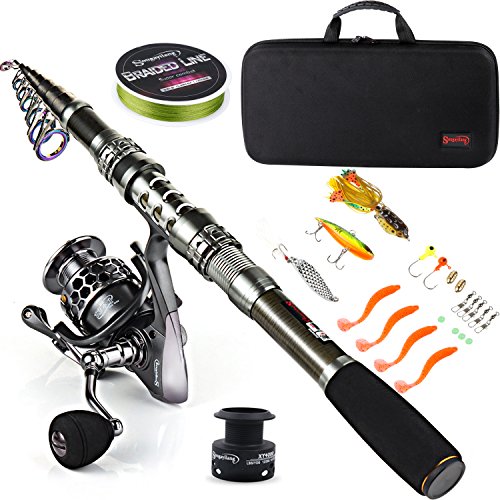
The foundation of a successful crankbait setup lies in the preparation of the lure itself. Before you even think about tying that knot, you need to make sure your crankbait is in top condition. In this section, we’ll delve into the importance of selecting the correct crankbait and checking the lure’s eye and hook.
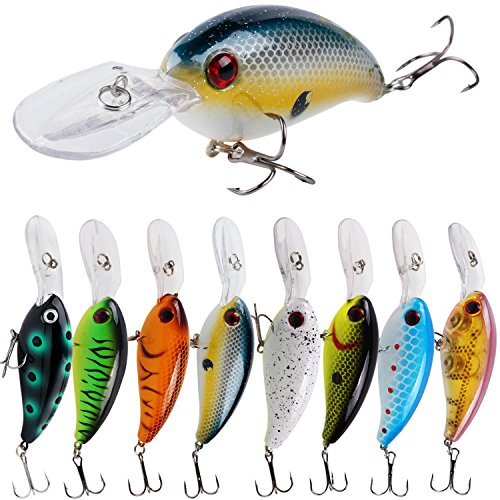
Selecting the Correct Crankbait
Selecting the right crankbait can be a daunting task, especially with the endless options available in the market. But, it’s crucial to remember that not all crankbaits are created equal. When choosing a crankbait, you need to consider factors like the fishing environment, the type of fish you’re targeting, and the desired action of the lure.
Think of it like cooking a meal. You can’t just throw a bunch of random ingredients together and expect a culinary masterpiece. You need to choose the right ingredients, in the right proportions, to create a dish that’s both delicious and satisfying. Similarly, when selecting a crankbait, you need to choose the right one that’s tailored to your fishing needs.
Checking the Lure’s Eye and Hook
Before you start tying your knot, take a closer look at the crankbait’s eye and hook. The eye of the lure is where you’ll be attaching the knot, and the hook is where the fish will eventually be caught. Make sure the eye is clear of any debris or obstruction, and the hook is sharp and free of rust or corrosion.
Imagine trying to tie a knot with a rusty old hook or a clogged eye. It’s like trying to build a house on a shaky foundation – it’s only a matter of time before everything comes crashing down. By ensuring the eye and hook are in good condition, you’ll be building a solid foundation for a secure knot that will withstand the forces of the fish and the water.
Tying the Knot
Tying a knot to secure your crankbait is a crucial step in ensuring a successful fishing trip. It’s like building a strong foundation for a house – if the base isn’t solid, the entire structure can come crumbling down. In this section, we’ll guide you through the process of tying a reliable knot that will keep your lure in place.
Creating the Initial Loop
The first step in tying a knot is to create an initial loop. To do this, hold the tag end of the line between your thumb and index finger, leaving about 6-8 inches of line dangling. Then, use your non-dominant hand to make a loop with the tag end, keeping your fingers inside the loop to maintain control. The size of the loop is crucial – make sure it’s not too big or too small. A good rule of thumb is to aim for a loop that’s about the size of the crankbait’s eye.
Passing the Tag End
Now that you have your initial loop, it’s time to pass the tag end through it. Hold the loop with your non-dominant hand, and use your dominant hand to pass the tag end through the center of the loop. Make sure the tag end is going through the loop in the correct direction – if you’re right-handed, the tag end should be coming out of the loop on the right side. This might take some practice, so be patient and don’t get discouraged if it takes a few attempts to get it right.
Securing the Knot with Moistenings
Once you’ve passed the tag end through the loop, it’s time to secure the knot. To do this, you’ll need to moisten the knot with some saliva or water. This will help the knot set in place, making it more secure. Gently pull the tag end to tighten the knot, and then pull on the standing line to make sure everything is in place. If you’ve done it correctly, you should start to see the knot take shape.
Adjusting the Knot
Once you’ve tied the knot, the next step is to adjust it to ensure it’s secure and won’t come loose while fishing. This crucial step is often overlooked, but it’s essential to get it right.
Tightening the Knot
Think of tightening the knot like adjusting the settings on a precision instrument. You want to make sure everything is in harmony, with no loose ends or weaknesses. To tighten the knot, gently pull on both the tag end and the standing line. This will help settle the knot and eliminate any slack. Be careful not to overtighten, as this can cause the knot to become misshapen or even damage the line.
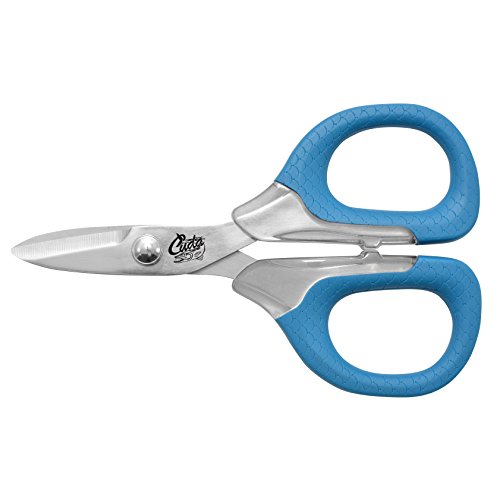
Trimming Excess Tag End
Now that the knot is tightened, it’s time to trim the excess tag end. This is a crucial step, as leaving too much tag end can cause the knot to come loose or even catch on underwater debris. Use a pair of scissors or clippers to trim the tag end close to the knot, leaving about 1/8 of an inch. This will help prevent any unwanted movement or snagging.
Final Check for Security
The final check is one of the most critical steps in the entire process. It’s like doing a pre-flight check before taking off into the wild blue yonder – you want to make sure everything is secure and in working order. Gently tug on the lure and the line to ensure the knot is holding fast. Check the knot for any signs of weakness or defects. If everything looks good, you’re ready to hit the water!
Common Mistakes to Avoid
When it comes to tying the perfect knot for your crankbait, there are a few common mistakes that can make all the difference between a successful catch and a disappointing one. By being aware of these mistakes, you can avoid them and ensure a secure connection between your line and lure.
Over-Tightening the Knot
One of the most common mistakes anglers make is over-tightening the knot. This can cause the line to weaken and even lead to breakage. Think of it like over-tightening a screw – it can strip the thread and render it useless. To avoid this, make sure to tighten the knot just enough to secure the lure, but not so tight that it becomes constricted.
Inconsistent Loop Sizes
Imagine trying to fit a square peg into a round hole – it just won’t work. Similarly, if your loops are inconsistent in size, your knot will be weak and prone to failure. Make sure to keep your loops consistent and even, like a well-oiled machine, to ensure a secure connection.

Failing to Trim the Tag End
Failing to trim the tag end of your line is like leaving a loose thread on a sweater – it’s just waiting to unravel. A long tag end can get caught on underwater structures or even on the lure itself, causing the knot to come undone. By trimming the tag end, you can ensure a clean and secure connection that will withstand the forces of the water.


