Discover the expert techniques to transform your freshly caught bluegill into a mouth-watering meal, with our easy-to-follow guide on how to fillet a bluegill.
Preparing to Fillet a Bluegill
Before you begin the filleting process, it’s essential to prepare your bluegill to ensure a smooth and successful experience. After all, you want to end up with a delicious and boneless fillet, don’t you?
Gathering Necessary Tools
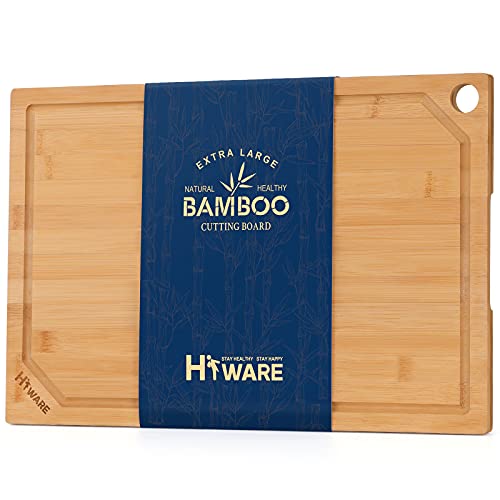
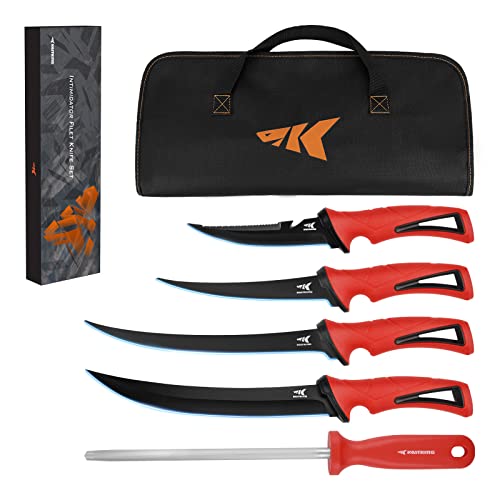
Fillet knives are a vital tool in any angler’s arsenal. When it comes to filleting a bluegill, you’ll want to use a sharp, thin-bladed knife with a comfortable, non-slip handle. A longer knife (around 6-8 inches) is ideal for filleting larger fish, but a shorter knife will work just as well for smaller bluegills. Additionally, you’ll need a cutting board, preferably with a non-slip surface, and some paper towels for cleaning up any mess.
Rinsing the Fish
Before you start cutting, give your bluegill a good rinse under cold running water to remove any loose scales or debris. This step is crucial, as it helps to prevent any impurities from getting into the fillet. Hold the fish firmly under the running water, making sure to rinse both the inside and outside of the cavity. Pat the fish dry with paper towels to remove excess moisture, making it easier to handle and ensuring a better filleting experience.
Making the Initial Incision
Holding the Fish Correctly
When it comes to making the initial incision, the way you hold the bluegill can make all the difference. You’ll want to grip the fish firmly, but gently, with one hand supporting the belly and the other holding the back. Think of it like holding a delicate vase – you want to provide enough support to keep it stable, but not so much that you put too much pressure on it. Try to distribute the weight of the fish evenly between your hands, with your thumbs on either side of the spine. This will give you the control and precision you need to make a clean incision.
Cutting from Head to Tail
Now it’s time to make the initial cut. You’ll want to start at the head of the fish, just behind the gills, and cut all the way down to the tail. Think of it like drawing a straight line – you want to keep the knife steady and level, applying gentle pressure as you move it along the spine. Don’t apply too much pressure, or you risk cutting too deeply and ruining the fillet. Instead, focus on making a smooth, even cut that follows the natural curve of the fish. As you cut, you’ll start to see the flesh begin to separate from the bones – this is exactly what you want to happen. Keep cutting until you reach the tail, and then you can move on to the next step.
Removing the Gills and Gills Plates
When it comes to filleting a bluegill, one of the most crucial steps is removing the gills and gill plates. This process requires precision and patience, but with the right techniques, you’ll be able to do it like a pro. So, let’s dive in and explore the world of gill removal!
Cutting Around the Gills
The first step in removing the gills and gill plates is to cut around the gills. Imagine you’re drawing a circle around the gills with your knife, making sure to stay close to the gill plates. This helps to loosen the gills from the fish’s skull, making it easier to remove them later on. Be gentle yet firm, as you don’t want to cut too deeply and damage the surrounding flesh. Think of it like dissecting a delicate flower – you want to carefully remove the petals (gills) without damaging the center (the fish’s body).
Pulling Out the Gills and Plates
Now that you’ve cut around the gills, it’s time to pull them out. This can be a bit tricky, but with a gentle tug, you should be able to remove the gills and gill plates in one piece. It’s like pulling out a stubborn weed – you need to be firm but gentle, making sure not to break the roots (gill plates) or damage the surrounding soil (the fish’s body). Once you’ve removed the gills and plates, you’ll be left with a clean and gill-free fish, ready for the next step in the filleting process.
Filleting the Fish
Filleting a bluegill requires precision and patience, but with the right techniques, you’ll be rewarded with a delicious and tender piece of fish. This crucial step determines the quality of your final product, so let’s dive in!
Cutting Along the Rib Cage
As you start filleting, imagine you’re unwrapping a delicate package. Hold the fish firmly, with the belly facing you. Locate the rib cage, which looks like a ladder of bones running along the fish’s body. Hold your knife at a 45-degree angle and gently cut along the rib cage, careful not to cut too deeply and damage the flesh. Envision a smooth, continuous motion, as if you’re drawing a line along the fish’s body.
Separating the Fillet from the Bones
Now, it’s time to separate the fillet from the bones. Imagine you’re gently prying open a lid. Hold the knife vertically and carefully cut around the rib cage, applying gentle pressure. You’ll start to see the fillet loosen from the bones. Continue cutting until you’ve freed the fillet from the rib cage, taking care not to tear the delicate flesh.
Smoothing Out the Fillet
The final step in filleting is to smooth out the fillet, ensuring it’s even and free of bones or scales. Hold the fillet firmly and run your knife or a pair of tweezers along the surface, removing any remaining bones or imperfections. You should be left with a beautiful, smooth fillet, ready for the next stage of preparation.
Deboning and Skinning the Fillet
When you’ve finally reached the stage where your bluegill is filleted, you’re not quite done yet! There’s still some work to be done to make your fillet ready for cooking. Think of deboning and skinning as the final touches to a masterpiece – it’s the last step before you can serve up a delicious meal.
Removing the Rib Cage and Pin Bones
Imagine trying to eat a piece of fish with a mouthful of tiny bones – not exactly the most pleasant experience, right? That’s why removing the rib cage and pin bones is crucial. Start by identifying the rib cage, which should still be attached to the fillet. Carefully cut along the spine, making sure to remove the entire rib cage in one piece. Next, use your fingers or a pair of tweezers to remove the pin bones. These tiny bones can be tricky to spot, but if you run your fingers over the fillet, you should be able to feel them.
Peeling Off the Skin
Finally, it’s time to remove the skin from the fillet. You can do this by holding the fillet skin-side down and peeling the skin away from the flesh. Think of it like peeling a sticker off a sheet – you want to make sure you get it all in one go! If there are any stubborn bits of skin left behind, use your fingers or a knife to gently pry them loose. And that’s it! Your fillet is now deboned and skinned, ready to be cooked to perfection.
Final Preparations
The final stretch! You’ve successfully filleted your bluegill, and now it’s time to give it a finishing touch. This last stage is crucial in ensuring your hard work pays off, and you’re left with a delicious, clean fillet. So, what’s left to do?
Rinsing the Fillet
Rinse your fillet under cold running water to remove any loose scales, blood, or debris that may have accumulated during the filleting process. Think of this step as a refreshing shower for your fillet – it helps remove any impurities, leaving it feeling fresh and clean. This simple step can make a significant difference in the overall quality of your fillet.
Patting Dry the Fillet
Gently pat the fillet dry with a paper towel to remove excess moisture. This step is crucial, as it helps prevent bacterial growth and reduces the risk of contamination. By removing excess moisture, you’re creating an environment that’s less conducive to bacterial growth, ensuring your fillet stays fresh for a longer period. Imagine you’re gently blotting a delicate flower – that’s the kind of TLC your fillet needs at this stage.


